For those of you interested in public relations (PR), Google has a new reputation management tool that may be of interest to you.
Google just recently announced the launch of “Me on the Web” — a tool which lets you keep track of what people are saying about you online. While we’re not sure if this tool can be set up for business use, if you are managing the reputation of an individual, it could be a helpful item.
“Me on the Web” helps you control how you appear in search results and has options for managing online identity and removing unwanted content.
“Your online identity is determined not only by what you post, but also by what others post about you — whether a mention in a blog post, a photo tag or a reply to a public status update,” Google explains.
“Me on the Web” is located in the Google account dashboard between account information and analytics. If you don’t already have a Google profile, making one is the first step in getting started.
1. Register or Login to Google Dashboard
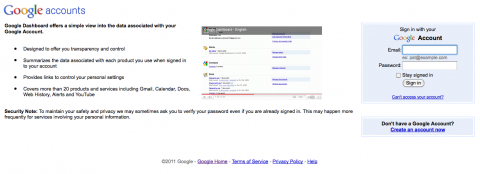
The first thing you will need to do is login to your Google Dashboard, located at https://www.google.com/dashboard/. If you don’t already have a Google account you can quickly register for one.
2. Create a Google Profile
Next, locate the “Me on the Web” section listed below your account information. You will see a link that says “Create a Google Profile.”
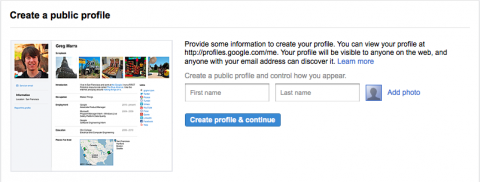
Click in and then enter your name on the next page and hit “Create Profile & Continue.” You can also add a picture of yourself here if you’d like.
You can view your profile later at http://profiles.google.com/me. Your profile will appear visible to anyone on the web. Also, anyone with your email address will be able to find it. But, you can control what is on your profile in the next step.
3. Edit Your Profile
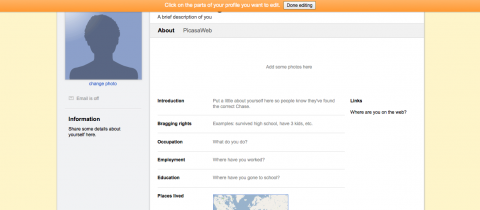
Once you have created a profile, you have the option of adding information about yourself. You can add occupation, education, where you’ve lived, and much more. When you are finished, hit “done editing.”
4. Set Up Search Alerts
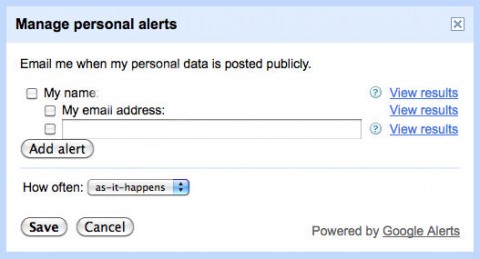
Return to your dashboard and select “Set up search alerts for your data.” You will be given a choice of how you would like to be notified of information appearing in search results about you. You can select by your name, email, or fill in other words that relate. Then you can choose your notification to be as-it-happens, once a day, or once a week. Click save to finish this step.
4. Remove A Page Or Site From Google’s Search Results (Well Sort Of)
Unfortunately, there is no magic button for removing unwanted content from non-Google-owned products. Google suggests you consult the webmaster of the site which has posted your undesirable content first to see if it can be removed. For more detailed instructions on this visit Remove a page or site from Google’s search results.
If you’re contacting a webmaster, be courteous and explain the situation. They probably get many requests, so be patient.
But, if your unwanted content is on a Google owned product, the process is simpler. Head to Removing Content From Google and select the product your request is related to. Each product follows a different procedure, so follow the steps they provide you with.


Leave a Reply